Table of Contents
ToggleYour Ultimate Moving Timeline Planner: From 8 Weeks Out to Moving Day
Eight-Week Moving Timeline: Stress-Free Relocation PlannerYour Ultimate Moving Timeline Planner: Comprehensive 8 Week Moving Checklist for a Stress-Free Relocation
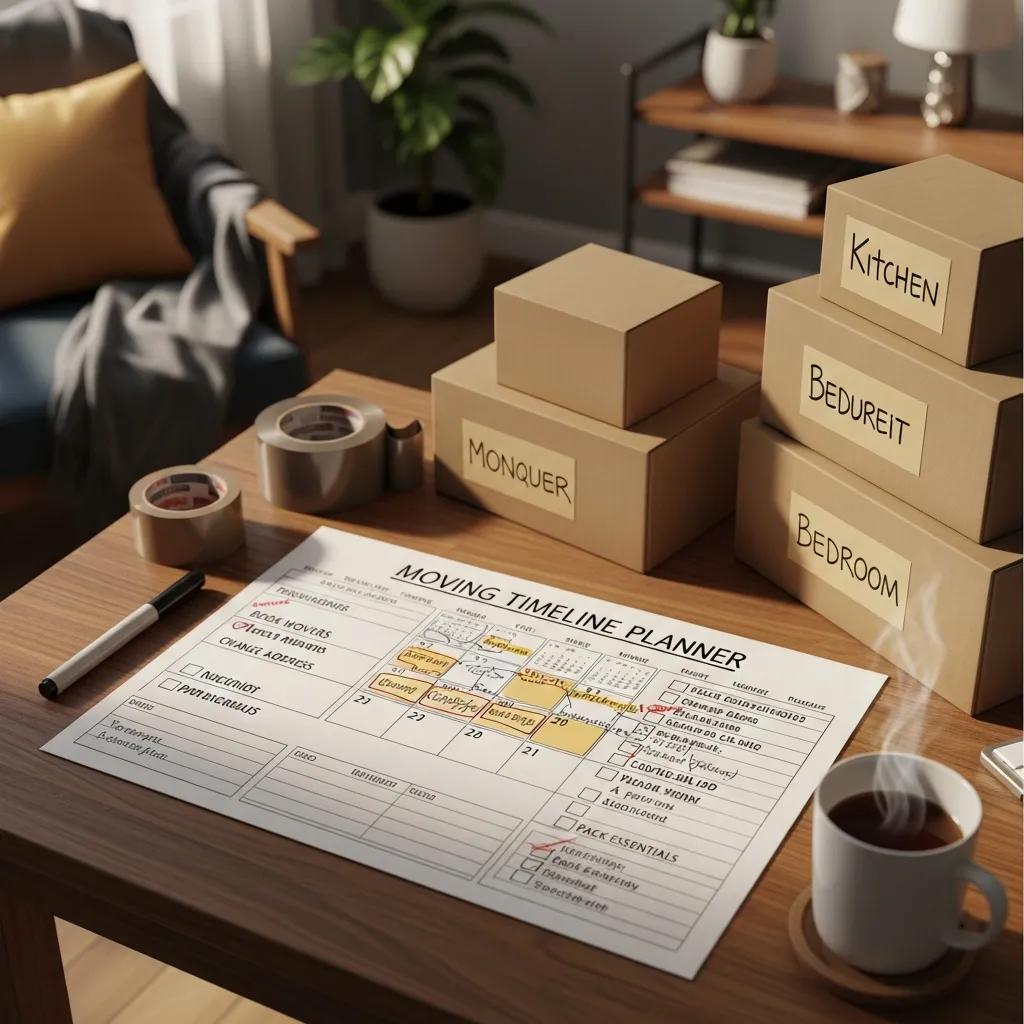
Moving is a major project that becomes manageable when broken into an organized eight-week moving timeline; this planner defines the weekly priorities that reduce stress, cut costs, and protect your time. You will learn what to declutter and budget for eight weeks out, how to book movers and gather supplies at six weeks, the room-by-room packing strategy for four weeks, utility transfers and address changes at two weeks, and the final-week moving day execution plus post-move settling-in. This guide uses a practical moving preparation checklist and moving timeline structure to turn an overwhelming relocation into a sequence of clear actions. Each section explains the why and how — from decluttering benefits to packing schedules, moving day protection, and unpacking priorities — and includes checklists, comparison tables, and lists you can use immediately. Follow these steps to create a reliable move schedule, keep your moving budget under control, and ensure moving day organization that protects your belongings and your timeline.
What Should You Do 8 Weeks Before Moving? Decluttering and Budgeting Essentials

Eight weeks before moving is the moment to define scope: start decluttering, build a moving budget, and research movers that fit your distance and schedule needs. Early decluttering reduces packing volume and moving costs because movers often charge by time and load size; establishing budget line-items makes quotes comparable and prepares you for deposits and optional financing. Below is a compact comparison of decluttering options to clarify when to donate, sell, or schedule junk removal so you can make cost-effective choices before packing begins.
Different removal and disposal choices suit different goals and timelines.
| Option | When/Why to Use | Typical Outcome |
|---|---|---|
| Donate | Use for reusable clothing and household goods when you want tax-deductible removal and community benefit | Lower moving volume, possible tax receipt |
| Sell | Use for higher-value items you no longer need to offset moving costs | Money back that lowers your moving budget |
| Junk removal services | Use for bulky, non-sellable debris or estate cleanouts on a tight timeline | Fast removal and reduced packing scope |
This table helps evaluate tradeoffs so you can schedule the right service at the right time and decide whether to sell, donate, or contract removal.
Decluttering also flows directly into budgeting: estimate core line-items such as mover fees, packing materials, insurance, storage, and specialty handling so your move schedule matches available funds. Recent trends show many households underestimate specialty-item and parking permit costs, so factor contingency into your moving budget. Preparing estimates now lets you compare in-home or virtual quotes from providers and decide whether to use financing or a refundable deposit to secure your date. The next subsection outlines practical decluttering steps and how professional junk removal services simplify the process.
How Can Decluttering Simplify Your Move and Which Junk Removal Services Help?
Decluttering streamlines relocation by removing excess items that increase packing time and moving costs, which directly reduces the number of boxes and the labor required on moving day. Start with high-impact zones — attic, garage, and closets — and separate items into keep, donate, sell, and discard piles so decisions are final before packing begins. Scheduling a junk removal pickup or a donation haul several weeks before your move prevents last-minute congestion and ensures movers are only handling items you plan to keep. Donation centers and junk removal services typically handle bulky items and non-salvageable waste, which accelerates the packing timeline and lowers quoted move sizes. By reducing volume early, you simplify packing logistics and make quotes from movers clearer and more accurate.
What Are the Best Strategies for Budgeting and Financing Your Move?
A practical moving budget starts with itemized line-items: mover fees, packing materials, specialty handling, insurance, storage, and travel costs; estimating each line-item creates a transparent move schedule and prevents surprises. Request at least two written quotes — including any refundable deposit policies — and compare by scope and included services so that like-for-like comparisons are possible. If cash flow is limited, financing options can bridge the gap; some moving providers offer “move now, pay later” arrangements with defined terms to spread payments without interrupting scheduling. Make sure deposit practices are clear when you secure a date, and retain written confirmation of what the deposit covers so budgeting remains accurate as the moving timeline proceeds.
Understanding the principles of household financial planning can further enhance your ability to manage moving expenses effectively.
Household Financial Planning for Moving Budgets
Financial planning is like a map that determines the direction of family finances. The unmet needs of a family are often not due to a small income but due to expenses that are often uncontrollable. This research aims to find out the application of household financial planning to achieve the principle of a balanced budget.
Household Financial Planning in Achieving a Balanced Budget, E Masrunik, 2024
How to Plan Your Move 6 Weeks Out: Booking Movers and Gathering Supplies
Six weeks before moving shifts planning into logistics: this is the time to book movers, decide between local moving vs. long-distance options, and order the packing supplies that match your room-by-room strategy. Booking at this stage ensures better availability for preferred moving windows and gives you time to schedule specialty services like piano or antiques handling, and to obtain any necessary permits. Below is a concise comparison of packing approaches to help you choose the right balance between time, cost, and protection.
Compare self-pack, partial pro pack, and full-service packing to choose what fits your timeline and budget.
| Packing Option | Included Services | Best For |
|---|---|---|
| Self-pack | You pack all items; mover transports | Cost-conscious households with time |
| Partial professional pack | Movers pack fragile or high-value items | Those who want protection for key items |
| Full-service packing | Movers pack and unpack everything | Time-pressed households or long-distance moves |
This table clarifies which approach reduces workload versus which minimizes spend, helping you align supplies and crew needs with your moving timeline.
When choosing a mover, vet through neutral criteria: licenses, insurance coverage, transparent estimates, and customer reviews that indicate reliability and on-time performance. For readers considering trusted service options, Your Hometown Mover is a full-service moving company that serves the Hudson Valley, Capital Region, NYC, and parts of Florida and provides protections like the MoveMatch Guarantee and a $49 refundable deposit for booking; these provisions can reduce risk when you confirm a moving date. After selecting movers, order essential supplies now so you have time to collect specialty boxes and protective materials before the four-week packing phase.
Why Choose Your Hometown Mover for Local and Long-Distance Moving?
Choosing a mover requires objective vetting: confirm licensing, insurance, transparent quotes, and documented policies for claims and delays to reduce uncertainty in your move schedule. Your Hometown Mover is a full-service moving provider that offers local moving, long-distance moving, commercial moves, and 24/7/365 service options; their MoveMatch Guarantee and $49 refundable deposit policy are designed to give customers scheduling confidence and an easier booking path. Reviews and an easy claims process further support decision-making for those comparing providers on reliability and protection. Once you understand these selection factors, request a written estimate and confirm what services are included so that your six-week timeline transitions smoothly into packing preparations.
What Packing Supplies Are Essential for an Efficient Move?
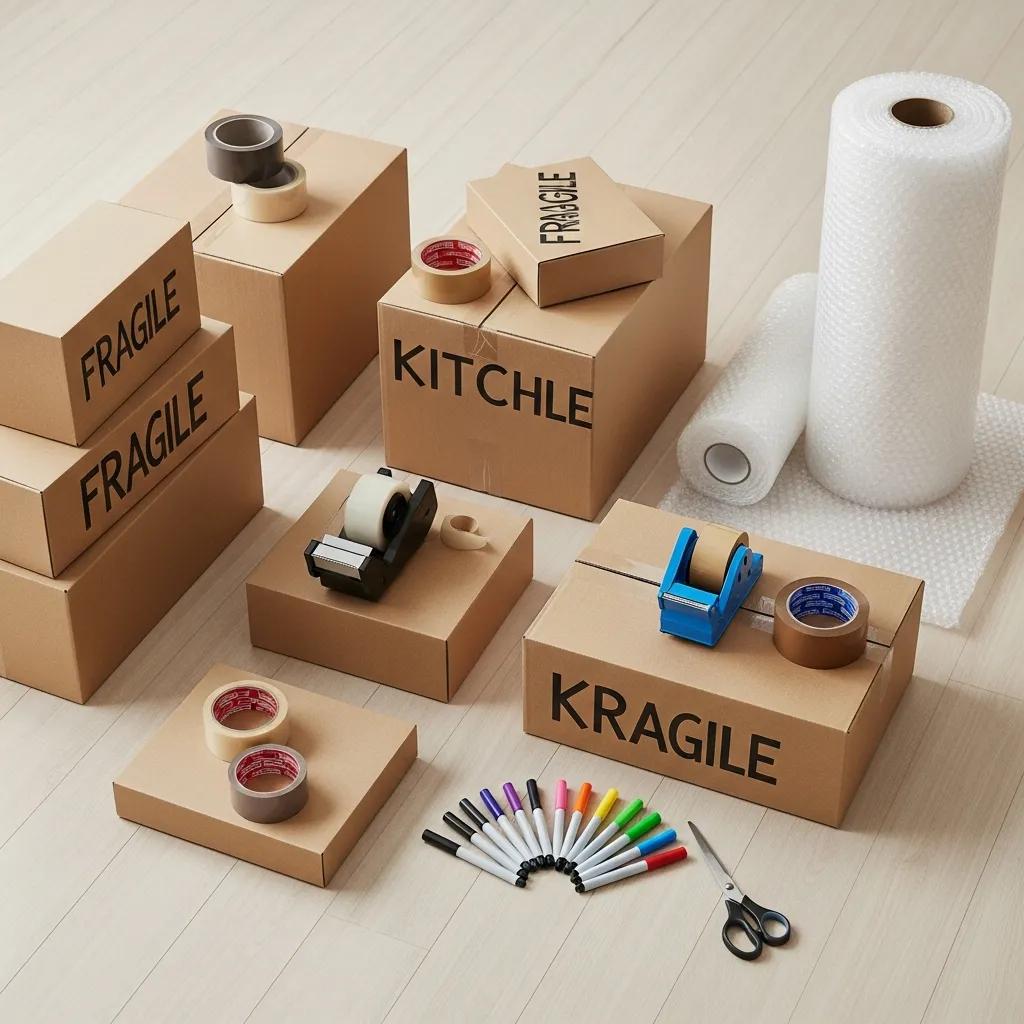
A short supplies checklist helps you order the right materials in the correct quantities so packing proceeds on schedule without last-minute store runs. Essential items include moving boxes of varied sizes, high-quality packing tape, bubble wrap for fragile items, furniture blankets, mattress covers, and permanent markers for clear labeling. Specialty boxes for dishes, wardrobe boxes, and electronics protection should be ordered if you plan partial or full-service packing to ensure compatibility with professional handling. Sourcing supplies through a mover versus retailers involves a tradeoff between convenience and cost; choose the option that keeps your six- to four-week schedule intact and minimizes the need for replacements.
What Packing Strategies Should You Use 4 Weeks Before Moving? Expert Tips and Specialty Item Handling
At four weeks, begin a disciplined room-by-room packing schedule and prioritize what to pack first: off-season items, rarely used decor, and books are typical starters to create momentum and reduce stress. Labeling systems and inventory lists help with efficient unpacking and protect fragile contents through explicit handling instructions for movers. This section presents a practical packing schedule and explains when professional packing services make sense, plus methods for specialty items that require extra protection.
A room-by-room approach accelerates progress by focusing effort and avoiding scatter; begin with low-use rooms and progress to high-use rooms closer to moving day.
How Do Professional Packing Services Ease Your Moving Process?
Professional packing services accelerate the timeline by applying standardized packing methods, using industry-grade materials, and reducing the time you spend on tedious wrapping and labeling tasks. Full-service packing covers every item and saves the most time, while partial packing lets you keep control of valuables and essentials; a fragile-only option targets high-risk items for specialized protection. Typical benefits include reduced damage risk and fewer supply sourcing headaches, and scheduling a pack day within the four-week window ensures the crew has clear access for efficient work. If you plan to use professional packers, coordinate their arrival time and inventory expectations so the packing day integrates smoothly with the overall moving timeline.
How to Safely Pack Fragile and Specialty Items?
Protect fragile and specialty items with three layered strategies: right-sized boxes, cushioning materials, and clear labeling that specifies orientation and fragility to the moving crew. Wrap glassware and dishes in packing paper, use dish barrels or cell boxes for plates, and place heavier items on the bottom of boxes; electronics should be packed in original boxes when possible with anti-static protection. For high-value or oversized pieces like pianos or antiques, hire specialists who provide custom crating and documented condition reports to protect against transport damage. Properly documenting inventory and photographing specialty items before packing creates an evidence trail that aids any insurance or claims process, and ensures these items receive focused attention when loading and unloading.
Which Final Preparations Are Needed 2 Weeks Before Moving? Utilities and Address Changes
Two weeks out is the administrative checkpoint: schedule utility transfers, confirm service start dates at your new address, and complete a comprehensive change-of-address plan to avoid interruptions. Organize accounts and paperwork so each provider has your move effective date and new address to prevent double billing or service gaps. The table below maps essential tasks to whom to contact and the recommended timeline so you can execute transfers cleanly within the two-week window.
Practical task mapping reduces service gaps and clarifies what documents and account info you need when you call.
| Task | Who to Contact | Timeline / Documents Needed |
|---|---|---|
| Electric/Gas | Utility provider account services | Request transfer or start 7–14 days before move; account number and ID |
| Internet/Cable | Local ISP or provider | Schedule installation at least 10 days out; service address and preferred window |
| Postal Forwarding | Postal service | Submit change at least 7 days before move; verify forwarding duration |
Storage solutions and short-term storage can be critical at two weeks if your new residence needs a delayed delivery window or if staging is required; plan these options as contingency to prevent bottlenecks on moving day. Many moving providers and storage partners offer secure short-term storage when moves require temporary holding, which can be scheduled during this two-week phase to maintain the timeline. Confirm details with your mover about curb access, elevator reservations, and any parking permits so the moving crew can execute without delay; these logistics often make the difference between a smooth move and an extended loading window.
How to Set Up Utilities and Transfer Services Seamlessly?
Setting up or transferring utilities requires contacting each provider with at least a one- to two-week lead time for service changes to avoid dark days at either residence. For electric and gas, prepare account numbers and a preferred service start date, and check for online transfer options that speed processing; internet and cable typically require appointment windows so schedule early. Keep records of confirmation numbers and take screen captures or notes during calls to reduce confusion later, and verify that the old account closes effective move-out date to prevent lingering charges. Planning these steps in the two-week window integrates with final-week logistics and prevents last-minute scramble on move day.
What Is the Complete Change of Address Checklist?
A methodical change-of-address plan lists institutions to notify and a recommended timeline to ensure critical services and legal notices follow you to the new address without interruption. Prioritize postal forwarding, financial institutions, insurance providers, employer and payroll records, and medical providers, then schedule magazine and subscription updates, DMV records, and online retailers. Use a short EAV-style checklist approach: postal service first, banks second, then utilities and insurance within two weeks, followed by subscriptions and informal contacts closer to moving day. Executing this checklist during the two-week period helps secure continuity for bills, benefits, and healthcare communications as you complete the relocation process.
What Are the Key Steps in the Last Week and Moving Day Execution? Essentials and Home Protection
The final week tightens execution: confirm arrival windows with your mover, finish labeling and last-minute packing, and protect both origin and destination homes with floor runners and door/frame protection. A clear moving day organization plan reduces the risk of damage and speeds loading and unloading by providing the crew with labeled pathways and an inventory checklist. The list below presents an actionable moving day checklist to follow during the final 72 hours and on moving day itself.
Follow this checklist during the last week to ensure coordination and home protection are in place.
- Confirm Arrival Window: Reconfirm mover arrival time and contact person at least 48 hours before the move.
- Protect Floors and Walls: Place runners and corner protectors in high-traffic loading areas.
- Complete Final Pack: Pack overnight essentials and valuables to carry personally.
- Inventory and Condition Check: Walk through with the crew to note the condition of high-value items.
Each checklist item eliminates common causes of delay: confirmation avoids scheduling surprises, protection prevents avoidable damage claims, final packing streamlines loading, and inventory walks preserve condition records for post-move steps.
How to Pack an Essentials Box for Moving Day?
An essentials box keeps immediate needs accessible and reduces first-night stress in a new home by holding medications, chargers, keys, basic tools, toiletries, and a change of clothes. Pack items that you or your family will need within the first 24–48 hours, and separate fragile valuables that you will carry personally rather than placing on the moving truck. Label the box clearly and mark it “OPEN FIRST” so it is unloaded and placed in a convenient spot at the new home; include a small toolkit and tape for any immediate adjustments. Planning an essentials kit ensures basic functioning on day one and lets movers focus on bulk unloading without interrupting your immediate needs.
What Should You Expect and Do on Moving Day for a Smooth Experience?
On moving day expect the crew to perform an inventory, present condition notes, and proceed with loading in an ordered sequence determined by your prior labeling and walking path protections. Coordinate a point person to answer questions and handle last-minute decisions, and verify the moving contract and payment arrangements per pre-agreed terms to avoid confusion at destination. During unloading, direct placement of labeled boxes to assigned rooms and perform a final walkthrough to ensure nothing is left behind and to document any unexpected issues. After the crew departs, confirm delivery condition notes and retain copies of the inventory and any service receipts to support warranty or claims processes.
How to Settle In After Your Move: Unpacking and Reviewing Services
Settling in begins with an unpacking priority plan: set up the kitchen, bathroom, and sleeping areas first so daily life resumes quickly while you tackle lower-priority rooms over the following days. Inspect delivered items against your inventory and photograph any damage as a first step in initiating claims or warranty conversations, and register appliances or service accounts as required. This section outlines an efficient unpacking approach and explains how to provide feedback or request post-move support from your moving provider.
Begin unpacking with high-use rooms to restore household function quickly and reduce the perception of unfinished work.
What Are the Best Practices for Unpacking Efficiently?
Efficient unpacking uses labeled boxes and a staged plan: open essentials and kitchen boxes first, then set up bedrooms and bathrooms, and finally arrange living areas and storage spaces. Work in focused blocks of time — for example, two- to three-hour sessions — to maintain momentum without burnout, and schedule the remaining small tasks like hanging pictures or assembling furniture for the following days. Keep an inventory checklist close by to confirm all items arrived and to note condition issues for any necessary claims. Prioritizing functional areas reduces stress and helps you re-establish a routine within the first 48 hours of residency.
How to Provide Feedback and Utilize Your Hometown Mover’s Support?
Providing constructive feedback and using post-move support ensures service gaps are addressed and future customers benefit from your experience; leave reviews and document any claims with photos and the inventory to start a straightforward process. If you require additional services such as short-term storage or junk removal after unpacking, Your Hometown Mover offers storage solutions and removal services to assist with follow-up needs. Keep receipts and condition reports handy when initiating a claim so the process is quicker and more efficient, and contact your mover’s customer service channels for guidance on filing documentation and arranging any corrective services. Clear documentation and timely feedback help close the moving loop and restore normal home life faster.
