Explanation of what a box fort is and why it’s fun
A box fort is a type of fort or playhouse that is made out of moving boxes. They are typically built by children, but can also be enjoyed by adults. The fun in building a box fort comes from the creativity and imagination that goes into the design and layout of the fort, as well as the process of constructing it. Box forts can be simple or complex, and can include features such as windows, doors, and even furniture. – Box forts are also a great way to repurpose moving boxes and give them a new life. It’s a fun and eco-friendly way to recycle the boxes that would otherwise end up in landfills.
Overview of the materials and tools needed
The materials needed to build a box fort are relatively simple and can be found around the house or easily purchased. The main materials are moving boxes, which can be acquired from friends, family, or a local store that sells them. Other materials that may be useful include: scissors or a box cutter, tape, a measuring tape, a pencil or marker, and any additional decorations or personalizing materials (such as paint, stickers, etc.). Depending on the design and complexity of the box fort, additional tools such as a hammer, nails, or a saw may also be needed.
Measurement and layout of the space where the box fort will be built
When planning and preparing to build a box fort, it’s important to first consider the space where it will be built. Take measurements of the area to determine the maximum size of the box fort that can be constructed. This will help you plan the layout and design of the box fort to ensure it fits in the space. It’s also important to consider any furniture or other items that may need to be moved in order to make room for the box fort. Once you have your measurements, use graph paper or a computer program to create a detailed layout of the space and the box fort design.
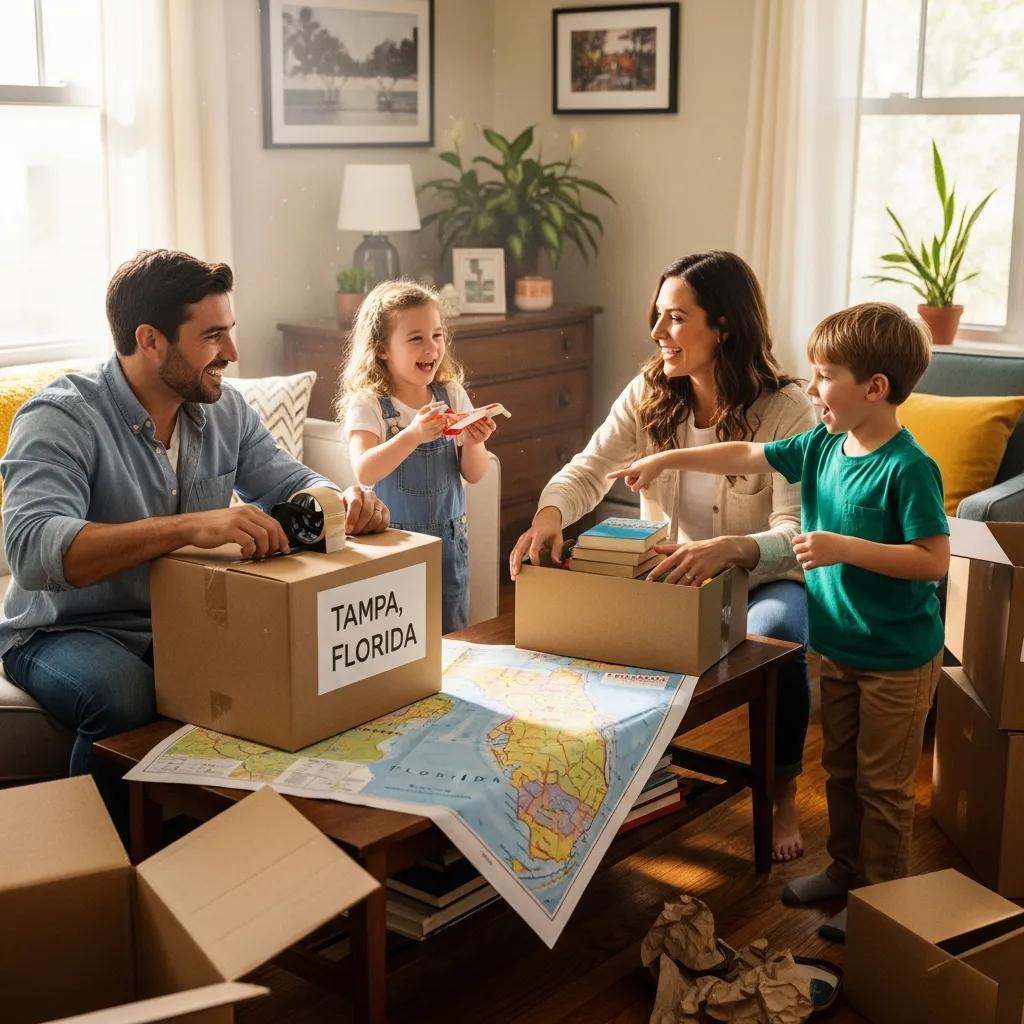
Sourcing and acquiring moving boxes
Once you have a plan for the design and layout of the box fort, it’s time to source and acquire the moving boxes. You can obtain moving boxes from a variety of places such as using used boxes from your recent move, Your Hometown Mover’s website, or even from friends or family who recently moved. It’s important to make sure you have enough boxes to complete the project, so be sure to factor in the size of the box fort and the number of boxes needed when acquiring them.
Deciding on the design and layout of the box fort
Once you have your measurements and moving boxes, it’s time to decide on the design and layout of the box fort. Consider factors such as the size of the space, the number of people who will be using the box fort, and any additional features you want to include such as windows or doors. Be creative and have fun with the design, but also make sure to keep safety in mind and ensure that the box fort is stable and secure. Once you have a final design, use your layout from step A to mark out the position of the boxes and plan out the construction process.
Top Tip for Expert Box Fort Designers
A great tip to keep in mind when building a box fort is to use blankets in addition to the moving boxes. Blankets can be used in a variety of ways to add comfort, warmth, and a cozy feel to the box fort. They can also be used to cover up any gaps or openings in the box fort, making it more secure and private. Here are a few ways to use blankets in your box fort:
- As a roof: Place a blanket over the top of the box fort to create a cozy, tent-like feel.
- As walls: Hang blankets over the sides of the box fort to create additional privacy and warmth.
- As flooring: Lay a blanket on the floor of the box fort to add an extra layer of comfort and insulation.
- As decoration: Use blankets to add color and pattern to the box fort, by draping them over the boxes or attaching them with safety pins.
Overall, adding blankets to your box fort can enhance the overall experience and make it feel like a real room rather than just a box fort.
Building the Box Fort
Assembling the boxes:
- Begin by laying out the boxes in the desired layout and design.
- Make sure to check that the boxes are the same size and in good condition.
- Start by assembling the base of the box fort, by connecting the boxes on the bottom layer.
- Once the base is secure, begin adding layers on top, connecting the boxes in the same way.
- Use a utility knife or scissors to cut flaps off the boxes as necessary to create openings for doors or windows.
- To create a more finished look, you can use blankets or sheets to cover the outside of the boxes. This can also help to hide any writing or branding on the boxes.
Securing the boxes together:
- Use packing tape or duct tape to secure the boxes together.
- Make sure to tape the boxes at all the corners and edges to ensure stability.
- If you want to add extra stability, you can use wooden dowels or PVC pipes to create a frame to hold the boxes together.
- You can also use a staple gun to secure the boxes to the frame.
- To secure the blankets or sheets to the boxes, use safety pins or a staple gun.
Adding any additional features such as windows or doors:
- Once the box fort is assembled, you can add additional features such as windows or doors.
- To create windows, cut out openings in the boxes and cover them with clear plastic sheeting.
- To create doors, cut out openings in the boxes and secure them with hinges.
- You can also add curtains, shutters, or other decorations to the windows and doors.
- If you want to add a more finished look, you can paint or decorate the outside of the box fort.
- The blanket or sheet will cover the boxes and create a smooth surface, making it easy to add any design or decoration.
Using Blankets for finishing touches:
- Once the box fort is built and secured, you can use blankets or sheets to add a cozy and comfortable feel.
- Use different color or patterned blankets to add visual interest and personality to the box fort.
- Blankets can also be used to create a ceiling or roof for the box fort.
- Use string lights or fairy lights to create a warm and inviting ambiance inside the box fort
- You can also place pillows, cushions, or bean bags to make the box fort feel like a cozy and comfortable space.
Note: It’s important to consider the safety while building the fort, Make sure that the fort is stable and secure, and avoid sharp edges or corners that could be dangerous.